Crispy Gluten-Free Chicken Tenders: Better Than Any Drive-Through
This post may contain affiliate links. Please read our disclosure policy.
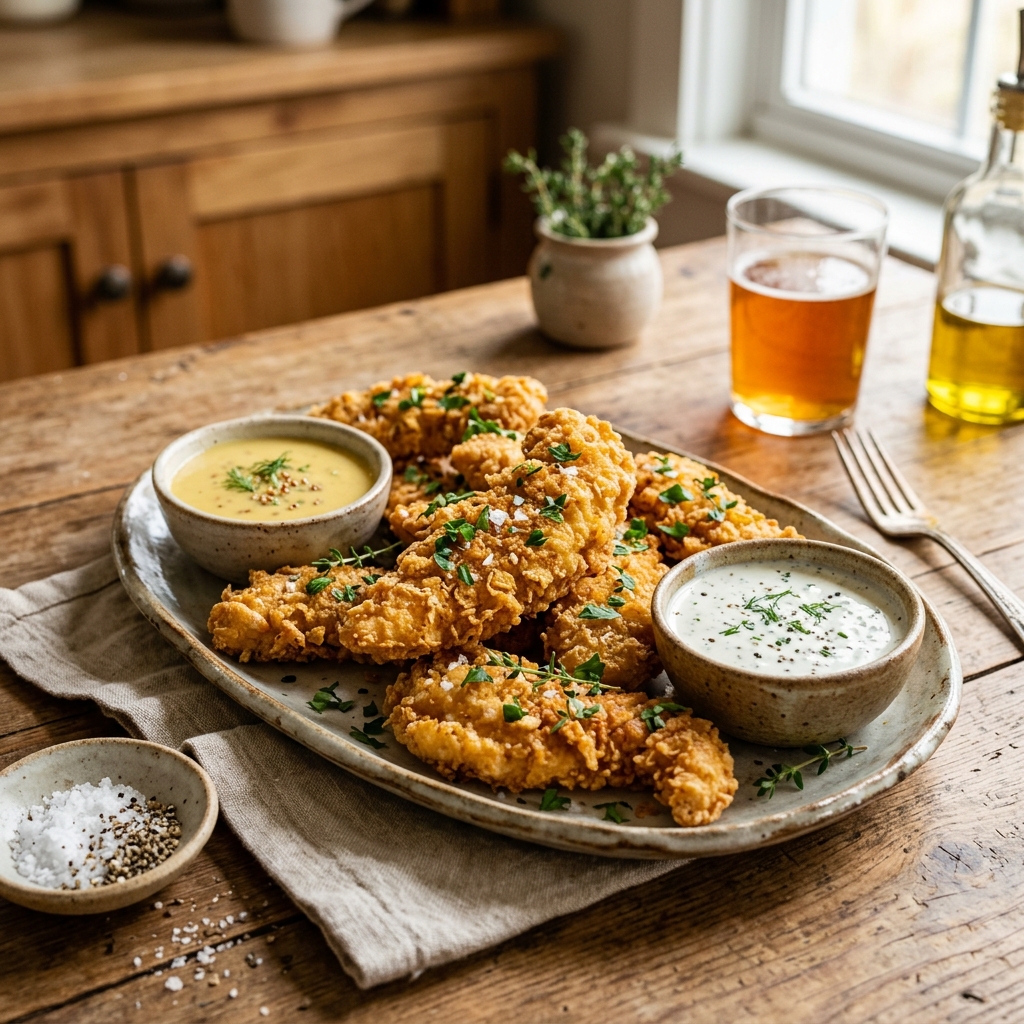
These gluten-free chicken tenders have a crunchy, seasoned coating that shatters when you bite through it, revealing juicy, tender chicken inside. My kids request these 3 times a week — and they have no idea they're GF.
Want to save this recipe?
Enter your email and we'll send it to you! Plus, get new recipes every week.
The Chicken Tender That Changed Everything
The day my son was diagnosed with celiac, the first thing he asked — before anything about bread or pizza or birthday cake — was:
"Does this mean I can't have chicken nuggets anymore?"
He was 7. Chicken tenders were his entire food group. McDonald's nuggets, Chick-fil-A strips, the frozen dinosaur nuggets from Costco — they were his lifeblood.
And the honest answer was: most of them, no. Fast food chicken is almost universally breaded with wheat flour. The frozen ones are worse — shared lines, wheat-based coatings, "may contain wheat" warnings on everything.
So I did what any desperate celiac parent does: I learned to make them at home.
After dozens of batches — some soggy, some burnt, one batch so bland my son said "these taste like paper" (kids are honest) — I cracked the code.
These are THOSE chicken tenders. The ones that made my son say, "These are better than Chick-fil-A." And he meant it.
Why This Recipe Works
Ingredients Explained
The Three-Bowl Breading System
This is non-negotiable for crispy chicken tenders:
The order matters: Flour → Egg → Breadcrumbs. Every time. Skipping the flour causes the coating to slide off. Skipping the egg means nothing sticks.
Pro Tip: Use one hand for dry bowls (1 and 3) and the other hand for the wet bowl (2). This prevents "breading your fingers" instead of the chicken.
Baked vs. Fried: Which Is Better?
Baked (425°F, 18-22 minutes)
Pros: Less mess, less oil, healthier, easier for large batches
Cons: Slightly less crispy than fried
The trick: USE A WIRE RACK over the baking sheet. Air circulating underneath is what makes baked tenders crispy on ALL sides. Without the rack, the bottom gets soggy.
Fried (350°F oil, 3-4 minutes per side)
Pros: Maximum crunch, restaurant-quality golden color
Cons: More oil, more mess, smaller batches
The trick: Don't crowd the pan. Frying too many at once drops the oil temperature and makes tenders greasy instead of crispy.
Our recommendation: Baked for weeknights, fried for special occasions.
Expert Tips
Pat the Chicken DRY
This is the most important prep step. Wet chicken = soggy coating. Use paper towels and press firmly. Both sides.
Don't Skip the Rest
Let the coated tenders sit on the wire rack for 5-10 minutes before cooking. This lets the breading set and adhere better. Cooking immediately after breading = more coating falling off.
Spray with Oil Before Baking
For baked tenders, a generous spray of cooking oil mimics the frying effect. Spray the tops AND sides before they go in the oven, then spray again when you flip at the 12-minute mark.
Cut Even Strips
Even-sized strips cook evenly. If you have thin pieces and thick pieces, the thin ones will overcook while the thick ones are still raw. Aim for 1-inch wide, uniform thickness.
📩 Want more tips like this?
Join celiacs getting weekly gluten-free tips, recipes, and hidden gluten alerts.
No spam. Unsubscribe anytime.
5 Dipping Sauce Ideas (All GF)
How to Freeze & Reheat
Freeze RAW (Before Cooking)
Freeze COOKED
Never microwave frozen tenders — it makes the coating soggy. Always use the oven or air fryer.
Ingredient Swaps
Frequently Asked Questions
Why does my coating fall off?
Three reasons: (1) Chicken wasn't dry enough before breading. (2) You skipped the flour dredge. (3) You moved them too much during cooking. Flip ONCE, not repeatedly.
Can I use an air fryer?
Absolutely! Air fry at 380°F for 10-12 minutes, flipping halfway. Spray with oil before cooking. The air fryer produces excellent results — very close to fried.
What GF breadcrumbs work best?
Ian's Panko-style GF breadcrumbs give the crunchiest result. Second best: crush GF corn flakes in a bag with a rolling pin. Third: Aleia's GF breadcrumbs.
Are these good for meal prep?
YES. Make a big batch, freeze individually, and pull them out for quick dinners. Kids love them, adults love them, and you'll never miss fast food chicken again.
Scan your breadcrumbs and seasonings with Check Gluten before you start — some "plain" breadcrumbs and spice blends contain hidden wheat.
Crispy Gluten-Free Chicken Tenders: Better Than Any Drive-Through
These gluten-free chicken tenders have a crunchy, seasoned coating that shatters when you bite through it, revealing juicy, tender chicken inside. My kids request these 3 times a week — and they have no idea they're GF.
Ingredients
- 1.5 lbs chicken breast or chicken tenderloins
- 1 cup gluten-free all-purpose flour
- 2 large eggs
- 2 tablespoons milk (any kind)
- 2 cups GF breadcrumbs or crushed GF corn flakes
- 1/2 cup grated Parmesan cheese
- 1 teaspoon garlic powder
- 1 teaspoon paprika
- 1/2 teaspoon onion powder
- 1/2 teaspoon dried Italian seasoning
- 1 teaspoon salt
- 1/2 teaspoon black pepper
- Cooking spray (for baked version)
- Vegetable oil (for fried version)
Instructions
If using chicken breasts, cut into strips about 1 inch wide and 4 inches long. Pat very dry with paper towels — this is critical for a crispy coating.
Set up your breading station: Bowl 1: GF flour + salt + pepper. Bowl 2: eggs whisked with milk. Bowl 3: GF breadcrumbs + Parmesan + garlic powder + paprika + onion powder + Italian seasoning.
Dredge each chicken strip in flour, shaking off excess. Dip in egg wash, letting excess drip off. Press firmly into the breadcrumb mixture, coating all sides. Place on a wire rack.
FOR BAKED: Preheat oven to 425°F. Place coated tenders on a wire rack set over a baking sheet (this lets air circulate for all-around crispiness). Spray generously with cooking spray. Bake 18-22 minutes, flipping once at 12 minutes.
FOR FRIED: Heat 1 inch of vegetable oil in a heavy skillet to 350°F. Fry tenders in batches (do not crowd) for 3-4 minutes per side until deep golden. Drain on a wire rack.
Let rest 3-5 minutes before serving. Internal temperature should reach 165°F.
Serve with your favorite dipping sauces: honey mustard, ranch, BBQ, or ketchup.
Nutrition Information
Calories: 340 per serving | Carbs: 22g | Protein: 35g | Fat: 12g
Nutrition information is an estimate provided by an online calculator.
Find Gluten-Free Recipes on Amazon
Shop certified gluten-free options
Top Gluten-Free Picks
📢 Found this helpful? Share it!
The Ultimate Celiac Survival Bundle
Stop stressing over cross-contamination and what to make for dinner. Get our complete 500+ recipe cookbook, dining out guide, and label reading cheat sheets.
200+ GF Baking Recipes
& Fast Food Protocols
Instant PDF Download • 60-Day Money Back Guarantee
About the Author
Rachel Lopez
Recipe Developer & Certified Pastry Chef
Rachel is a classically trained pastry chef who transitioned to gluten-free baking after her daughter was diagnosed with celiac disease. She develops and tests every recipe on Check Gluten, ensuring they work perfectly with GF ingredients.
Meet our full team →Medical Disclaimer: This article is for informational purposes only and is not a substitute for professional medical advice. Always consult your physician or a registered dietitian before making dietary changes related to celiac disease or gluten sensitivity. Read full disclaimer.
Related Articles
Easy Gluten-Free Meatballs (Better Than Store-Bought)
Tender, juicy, authentic Italian meatballs made entirely gluten-free. No special GF breadcrumbs required—we use a secret pantry ingredient to keep them perfectly soft!
Ooey Gooey Gluten-Free Cinnamon Rolls
You CAN have pillowy, melt-in-your-mouth cinnamon rolls on a gluten-free diet. This yeast-based recipe creates the magnificent, gooey breakfast treat of your dreams.
Fluffy & Buttery Gluten-Free Biscuits
Mile-high, flaky, buttery gluten-free biscuits that don't crumble when you butter them. Only 6 ingredients and ready in 30 minutes!
Easy Gluten-Free Sourdough Bread For Beginners
Missing real, crusty, tangy sourdough bread? This step-by-step guide walks you through making a gluten-free sourdough starter and baking your first perfect loaf.